7.24.2014

celebrating with honey-pear cake

I can hardly believe it, but last Friday Strider and I celebrated our six month anniversary! 
Time has absolutely flown since January, and we've loved every minute of being married. That being said, I definitely wouldn't turn down a second honeymoon/vacation right about now (in my dreams, right?).

I know it may seem silly to celebrate a milestone as seemingly unimpressive as six months (I even had a few people comment to that effect), but to us, it was worth a small party - aka just the two of us. I recognize that it's just a blink when compared to many couples' time together, but truthfully, I hope I never stop finding reasons to celebrate us. Be it 6 months, 6 years, or 6 decades, my prayer is that we will always take pause in celebration of our marriage, to just stop all the craziness of daily life just long enough to take true joy in our commitment to each other. And what better way to enjoy that moment than with a good meal and of course, cake!


Adapted from The New Midwestern Table cookbook by Amy Thielen, this Honey-Pear Bundt Cake was seriously delicious! And yes, I did make a tiny bunting just for the occasion then strung it up with embroidery floss and chopsticks. Though certainly not as glamorous as the one in the book, my slightly adapted recipe is as follows:


Ingredients
- 4 Anjou pears
- 2 sticks + 2 Tbsp unsalted butter at room temp
- 1/4 cup + 2 Tbsp honey
- 2 Tbsp spiced rum/cider
- 2 3/4 cup all-purpose flour
- 1 tsp baking powder
- 1/4 tsp salt
- 1 1/2 cup + 1/3 cup sugar, separated
- 1/2 cup brown sugar
- 6 eggs
- 2 tsp vanilla extract
- 2 Tbsp fresh lemon juice


Directions
- Preheat over to 400F and prep a 10-cup Bundt pan with a light coat of butter and flour
- Peel, quarter, and core the pears. Heat 2 Tbsp of butter over medium high in a large skillet, add pears and cook 5 min, add rum and Tbsp honey, cook additional 10-12 minutes.
- Set a colander over a bowl and pour pear mixture over. Reserve liquid and let cool.
- In a medium mixing bowl, sift together the flower, baking powder, and salt.
- In a large mixing bowl, beat remaining butter and all but the 1/3 cup white sugars together until light and fluffy. Add eggs two at a time, mixing after each addition, then add vanilla and remaining honey.
- In three additions, add flour mixture to egg mixture, being careful not to over-mix.
- Gently fold in pears then pour batter into pan.
- Bake at 400F for 10 minutes, reduce heat to 325F and bake another 50-60 minutes.
- Cool for 20 minutes before turning out onto rack.
- While the cake cools, heat 2 cups of the pear liquid, remaining 1/3 cup sugar, and lemon juice in a saucepan. Boil until the mixture condenses and becomes slightly syrupy. Cool 10 minutes.
- Setting your cooling rack and cake over the sink, use a pastry brush to glaze the cake with the juice reduction. I did 4-5 applications letting each cool slightly in between so the glaze was soaked in and coated the top well.
- Serve warm and with a glass of milk. Yum!!

7.18.2014

quick & affordable room makeover

A fun project popped up out of nowhere this week (which did wonders for my continued avoidance of our cluttered second bedroom) and was so successful, I just had to share. My sister and I were discussing The Nesting Place and I mentioned how inspired I felt to be more creative in the ways I decorate our little home. Well...my sister and her new hubby landed an awesome, albeit temporary, house to rent while it's on the market, and she started telling me how discouraged she felt because:
     - there's so little they're permitted to do (no painting, etc.)
     - they don't want to invest a lot of money in a short-term location
     - she felt overwhelmed because the house is so big, she didn't even know where to start
Sensing the opportunity for a sister-team-up-project, I immediately began trying to convince her that we could do something substantial AND that it would be both significantly easier and less expensive than she imagined.
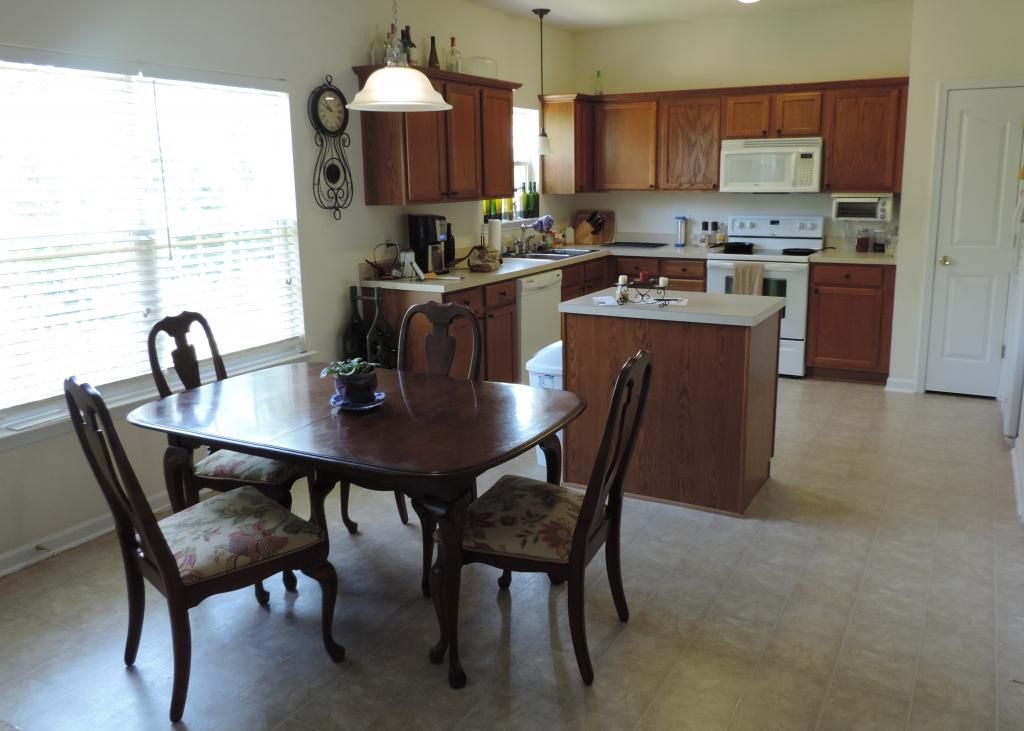
We decided to focus on the rooms they live in most, in order of priority, and go with small accents that make a big impact but won't break the bank. Since her husband loves to cook, we set our sights on the kitchen/dining room area. Before pictures from two angles below:
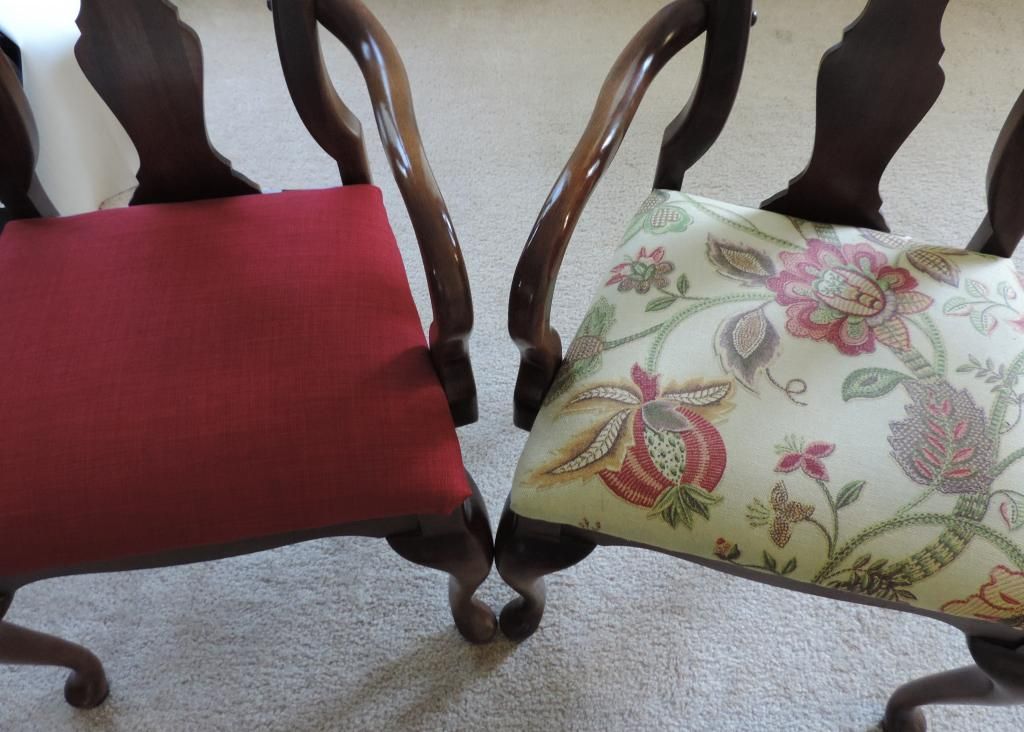
This was also a great starting point, because one of their biggest eyesores/frustrations was the dining chairs' upholstery. A real steal off Craigslist, the set is beautiful and definitely made of quality wood...just styled to a *different* taste than theirs. Though a bit nervous about it, Carly agreed to us reupholstering the seats. We found a gorgeous bolt of deep red fabric at Hancock Fabrics that she knew the man of the house would be okay with...and to top it all off, it was 60% off! Once we had the fabric, it took less than an hour of actual work to redo all six chairs. Check out the before and after below (or after and before because I didn't think to put them the other way around)...amazing or what!?
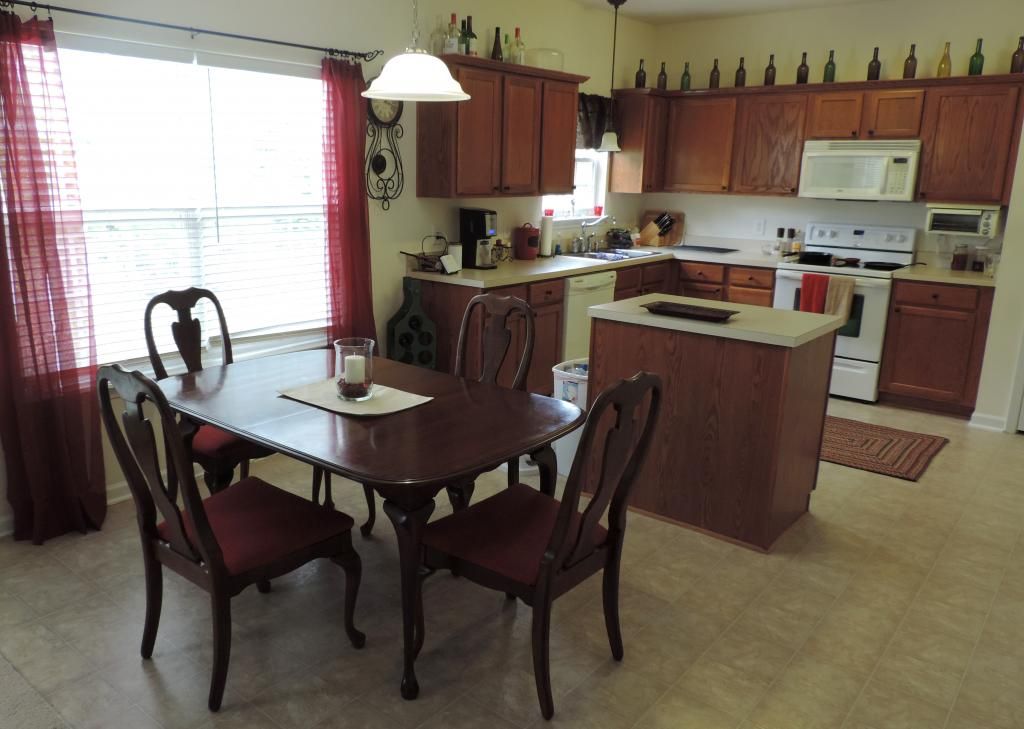
Aside from chairs, we knew a few details would really add a lot for a little effort: window treatments (for the dining area & the kitchen sink), a rug, a nice centerpiece, and a few small colorful accents. We spent one afternoon searching for the best bargain pieces we could find then one afternoon to bring it all together. After photos below:
Clearly, I'm not a pro-home-photographer by any means, but it's quite the improvement, right? Considering that they aren't able to change the things that they'd really like to (wall color, countertops, cabinets), choosing a color palette they both like helps personalize the room and make it feel more like home but without a major investment in a temporary space.

Speaking of investment, here's the project breakdown. Sneak peek - it comes in under $150!
     New upholstery for six chairs = $30 (%60 off the original price)
     Area rug = $39 (the splurge with the $ saved off the fabric)
     Centerpiece = $12 total (placemat from Pier 1, vase/marbles/candle from Dollar General)
     Window treatments = $30 (two rods, two sheers, and the sink valence from Walmart)
     Candle tray on island = $7 clearance item from Pier 1 (candles to-be-added)
     Cookie jar = $14 from Walmart
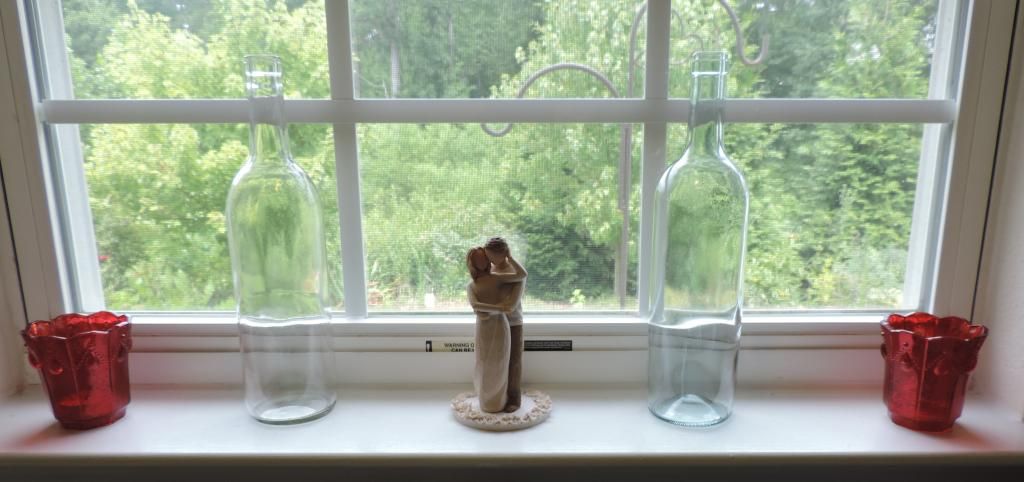
     Window votives = $4 each from Pier 1
Total cost = $140

And the best news of all...her husband loved the surprise! Considering the time, money, and energy spent on this quick makeover...I'm counting it a success on all counts!

7.12.2014

piles, pasta, pages

Confession: my craft room is an absolute disaster...like, Armageddon style. I almost took a picture as documented proof of my insanity. I decided this week that I needed to get our life better organized so naturally, I started by pulling all our giant storage bins out to sort through and re-organize. It was a great idea...for about 3 hours. Our Christmas bins are immaculate, but now the rest is in giant unfinished piles. True to form, I found myself leaving Hobby Lobby yesterday with another "but it's just one more teeny project" in hand (now sitting on top of all the piles). Did I mention that the other tutorial project I promised is also still not completely done? Sometimes, I find myself insufferable and just feel very blessed to have a husband who doesn't even blink at my giant fortress of crazy.

On a more productive note, last night I cooked the Pioneer Woman's Best. Ever. Lasagna. from scratch and it was absolutely fabulous. Meanwhile, our 90 degree kitchen had me meditating on the phrase "slaving over dinner". Please don't hate me for saying it, but I'm really looking forward to autumn and winter again.
                                                                                                                   
As a glorious distraction from my "disorganization castle", I've read three books this week:

A Great & Terrible Beauty - interesting and a quick read, this book really does have a little bit of everything: 1800s England, gypsies, magic, boarding schools, friendship, murder, mystery, and feminism. BUT...and it's a big but...I don't know if I'd necessarily recommend it to the young adults for which it was intended. It was pretty dark and had a couple scenes with too much semi-veiled sexuality for me to be comfortable with. All in all, it was a decent story but it would definitely fall in a "let's read it together so we can discuss things" category if my child was involved.

Now for two well-worth-a-glowing-recommendation selections.


First is Sparkly Green Earrings by Melanie Shankle.
The very true account of her experience with
motherhood, Shankle's writing is delightfully
engaging, extremely witty, and obviously heartfelt.
The book is based on the upset of her expectations
with the reality of her life as a mom, and overall, it's
just wonderful. I highly recommend to any not-yet- or
already-moms. I imagine her stories are exactly what
my mom would say when asked to recount the truth
of mine and my sister's childhoods.


Next is The Nesting Place by Myquillyn Smith. Know
as "The Nester" this blogger-decorator is almost too
cool for words. It's Christian homemaking meets interior
decorating meets inspiration. Based on her experience
of moving 13 times and never getting to really settle down
in the home she always pictured herself owning, Smith
writes about creating a sense of home wherever you
live...even if you're just a renter. She's smart and funny
with a keen eye for decorating and simplicity that strikes
a huge chord with another blogger you might know
(hint - me!). I read it in one sitting at Barnes then
checked it our at the public library three days later just
to go through it again and make notes. Brilliant and
quirky, it's an uplifting read for almost anyone.


Other than a week-long Harry Potter marathon with Strider, that's about where we're at. 
Some great reads and lots on my to-do list for this coming week!


7.09.2014

deciding on happiness

First and foremost, I promise that I haven't fallen into a black hole. I am still here, just with very little time or internet access to share things. 10- to 12-hour work days pretty much mean I don't get anything else done: a non-frozen dinner is my biggest daily accomplishment. But, I just keep reminding myself that this is just a season. However, I do have a cool tutorial I'll hopefully be sharing soon, and in the meantime, enjoy this awesome little quote I've been really meditating on lately. And now...back to work!